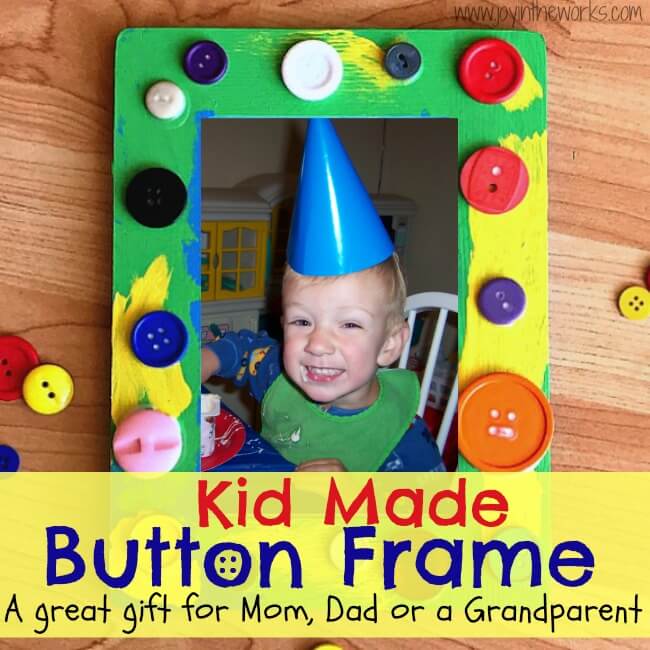
I am a big proponent of kid made gifts. I love the personalized touch and feel like a gift is extra special when it is homemade. Also, having a child make a present for someone gives them ownership over it and I think it is important for kids to be a part of the giving process. Plus, there is nothing sweeter than seeing a relative open up a homemade gift from your child- especially one that is personalized with a sweet photograph! Now this Kid Made Button Frame may not be fancy, but I know how touched my mom was when she opened it. The great thing about a button frame, though? It can make a great gift for Mother’s Day, Father’s Day or any sort of celebration for a grandparent or other relatives!
This post may contain affiliate links. Please see our disclosure page for more details concerning our policy.
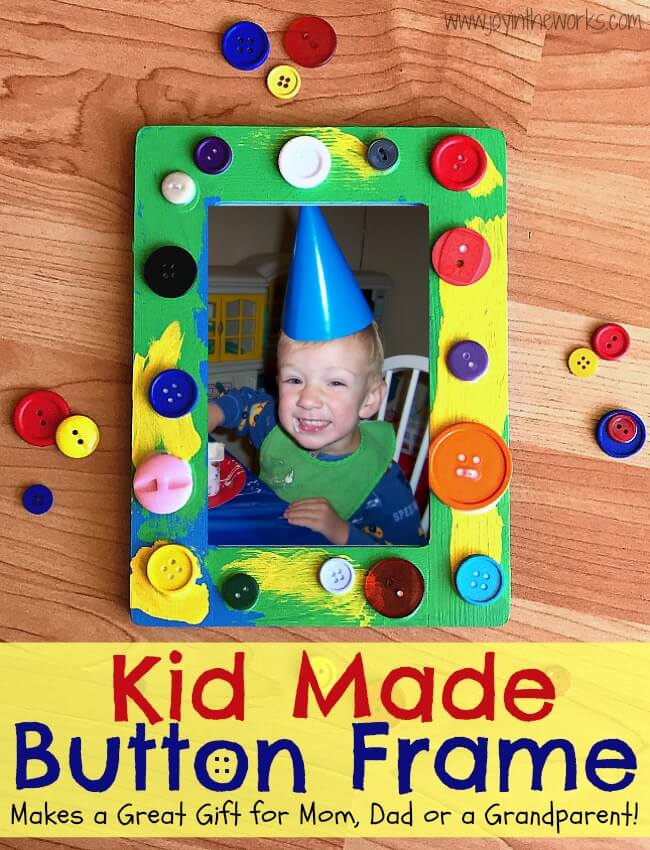
Kid Made Button Frame
Supplies
Wooden Unfinished Frame
Acrylic Paint (Gloss)
Sponge Brush
Craft Buttons
Glue
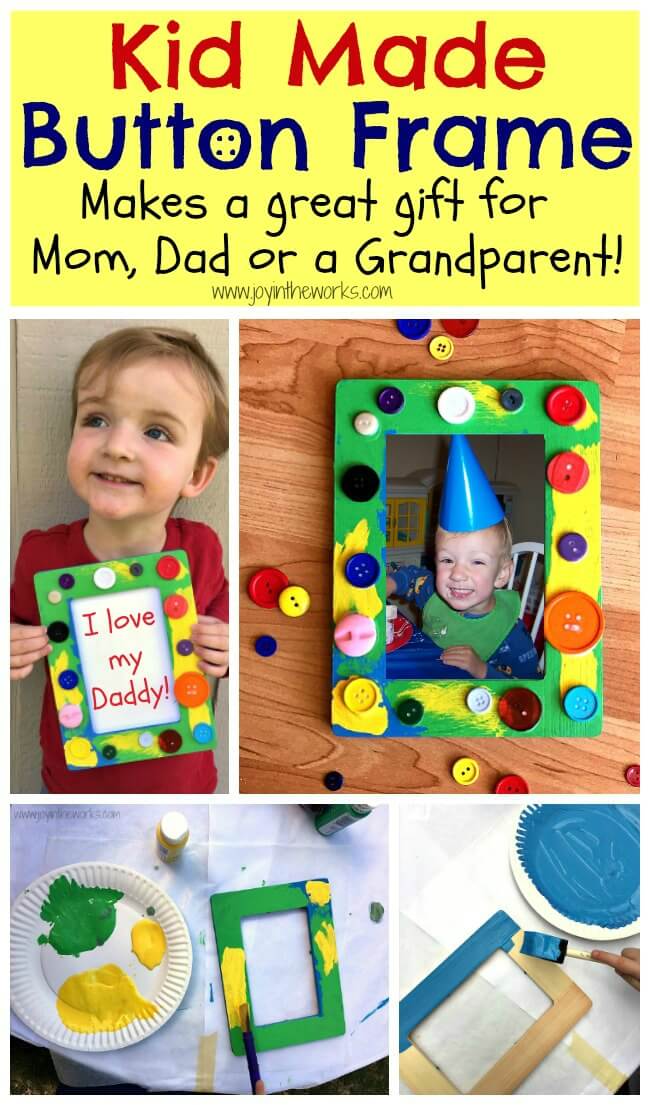
Step 1: The first thing you want to do when making a button frame is gather your supplies. I shared previously in the Button Flower Art how I prefer gloss acrylic paints and foam brushes for crafting coverage and that goes for wood frames as well! As for colors, because this is kid made, I let my kid choose. Okay, fine, I let them choose, but I take away black and brown as choices ;)
I have also shared tips previously about how to get kids’ best work when making a gift (it’s a little more “product” than I normally do). You can read those tips in the post about Class Art Projects and recently, the UP Coin Jar and Balloon Card. Many of those tips will apply to working with your own child too. For instance, when working with an unfinished frame, I like to start by painting a base coat “together”. This is the one part of this kid made project that I step in and take more leadership. Because children don’t usually cover all surfaces when painting, I think it is more attractive when there is a base coat peeking through instead of unfinished wood. So I help out with this stage simply to make sure that the entire frame is covered and there are no clumps or drips.
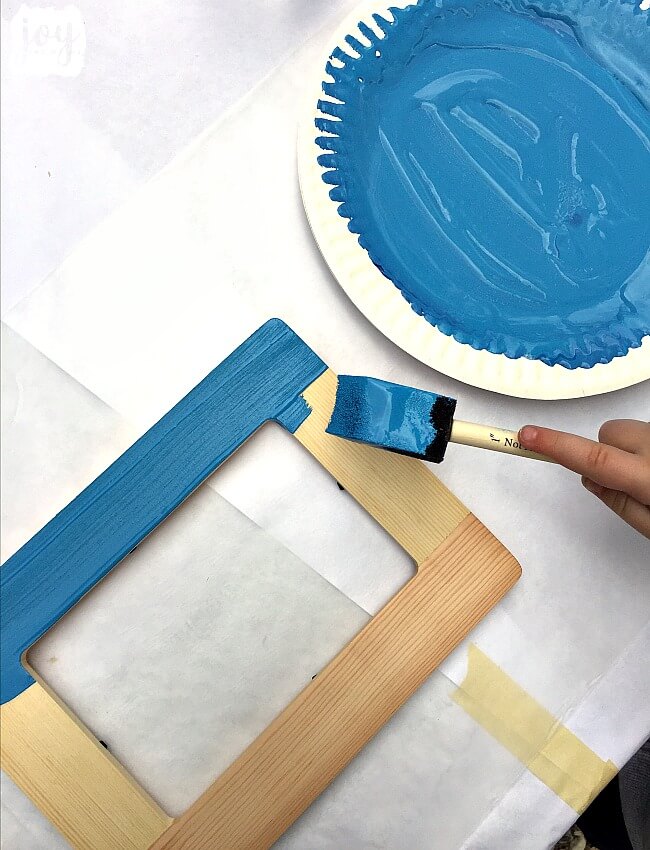 After the first layer of paint is dry, then I give my kid the paintbrush and let him paint away!
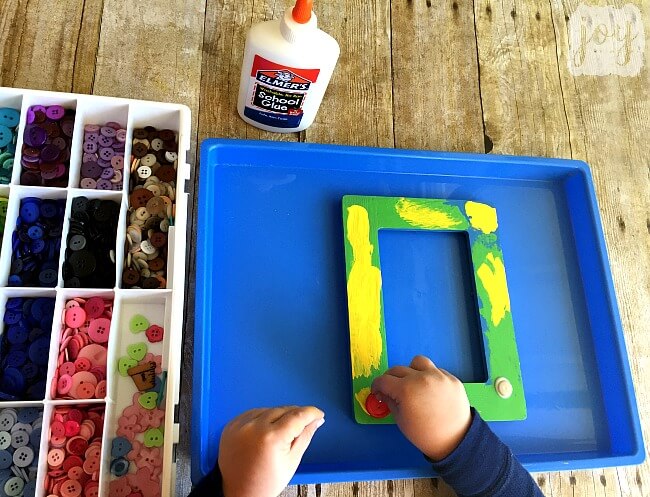
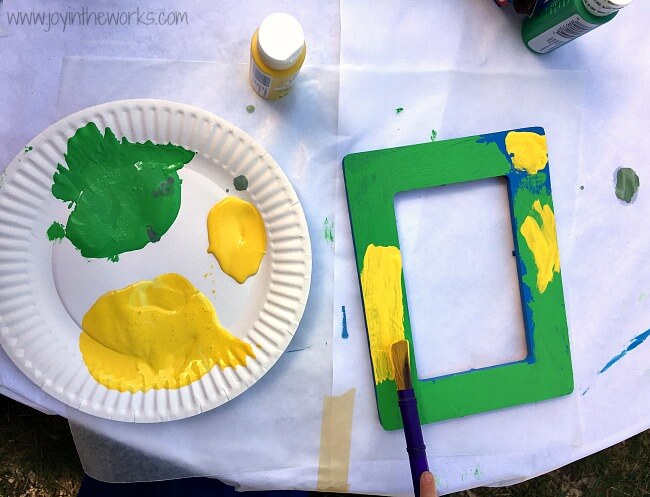 As hard as it is for kids to wait for the button frame to dry again, we didn’t start gluing the buttons on until all the layers of paint were dry again. You could add the buttons before that, but we didn’t want to deal with the wet paint all over our hands. But once it was all dried and set, my son had so much fun squeezing glue in spots around the frame. I just had to be sure that he didn’t get too crazy with the glue because then it won’t dry and it makes quite the mess!
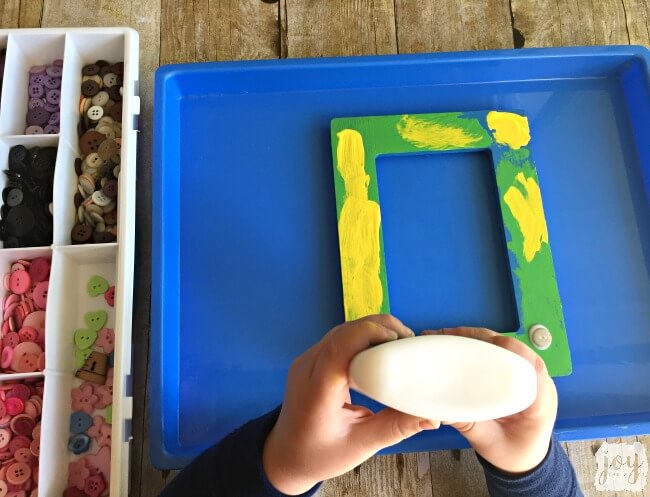 At this point, I did encourage my son to spread out the glue dots and the buttons to give it an even look, but other than that, I tried to let him be in charge of his button frame. One thing we didn’t do this time, but we have done in the past when my son wants to add more buttons and there isn’t a lot more space, is to stack or layer the buttons. I love the way the stacked buttons look. Of course, not as much as I love the button frame with a sweet photograph of my kids inside! =)
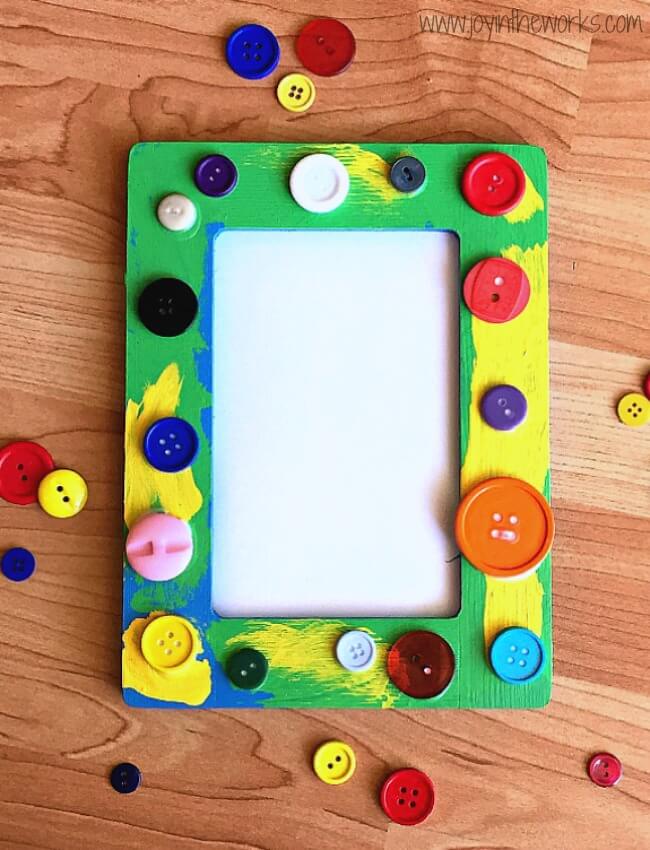
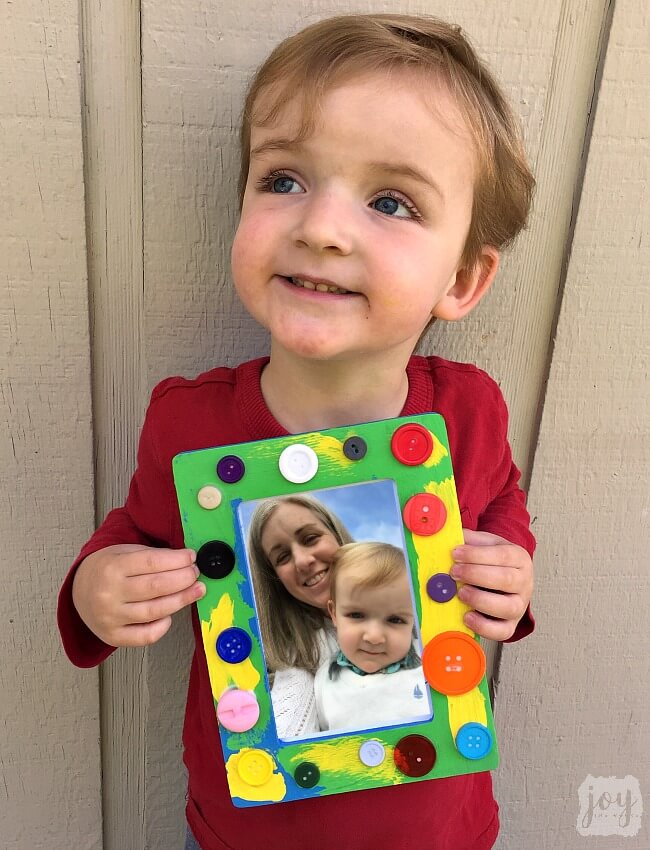
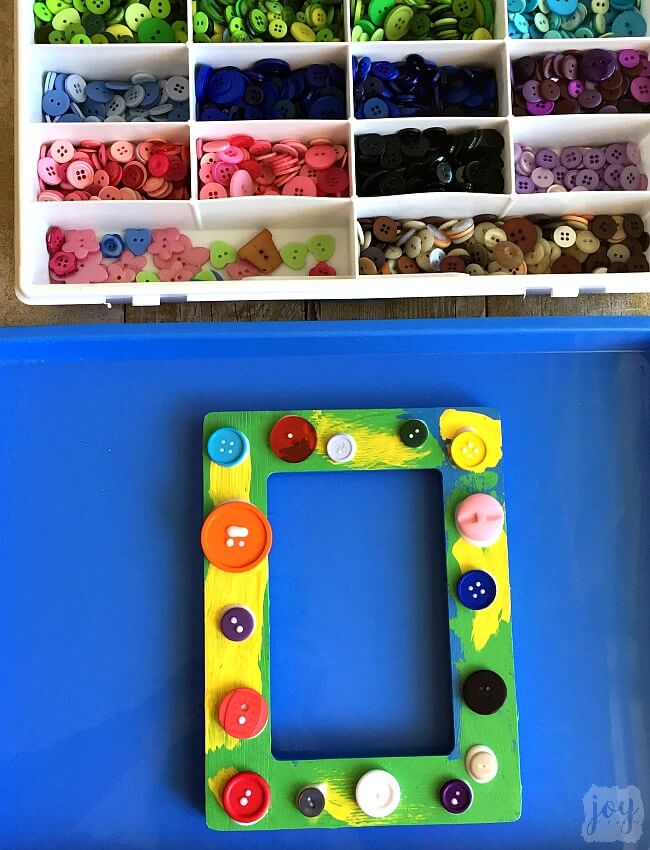 After all the buttons have dried, it’s time to put the backing back on your frame. Also, if you have a photograph ready, you can also add it now. Last, if you have a cute kid like mine, then you must take a picture of the pride they have on their face over making a gift all by themselves!! =)
 What about you and yours ? Does your family like to make gifts for Mother’s Day, Father’s Day or any other gift giving holidays? Do they tend to be kid made or grown-up made? I try to do most of mine kid made, but it sure is easier to step in sometimes, isn’t it?!

Leave a Reply