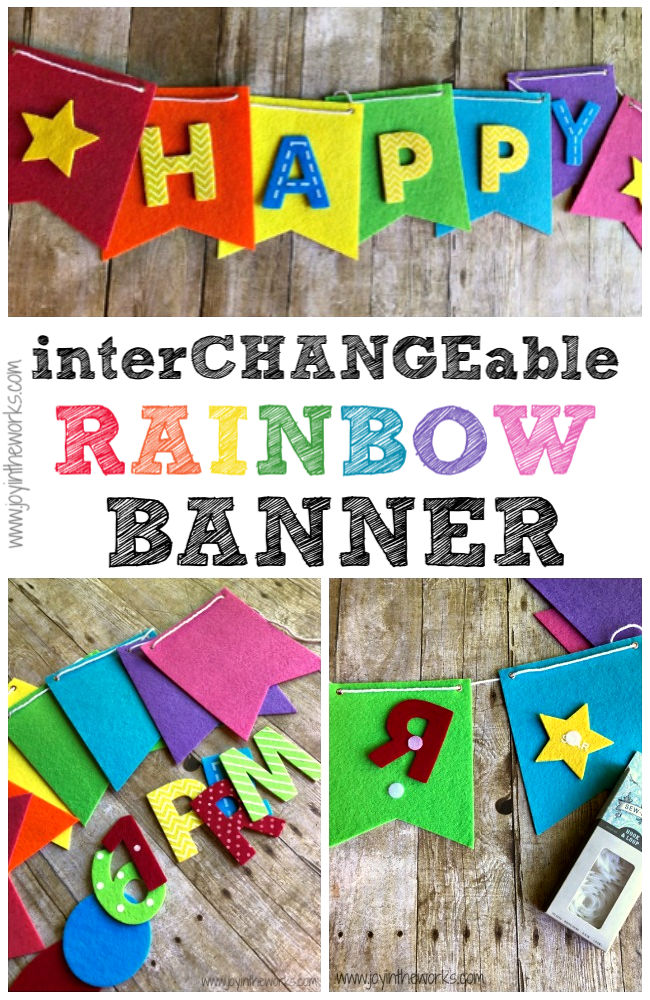
I don’t know what it is about rainbows lately, but I just can’t get enough! So when I was eyeing a DIY Felt Banner project, I had to rearrange the sections of the banner to make sure it was a Rainbow Felt Banner! But honestly, the genius of this DIY Banner isn’t the colors, but the fact that it is interchangeable for every holiday and special occasion!
This post may contain affiliate links which provide me a small percentage of any sales at no increased cost to you. You can read my entire disclosure policy here.
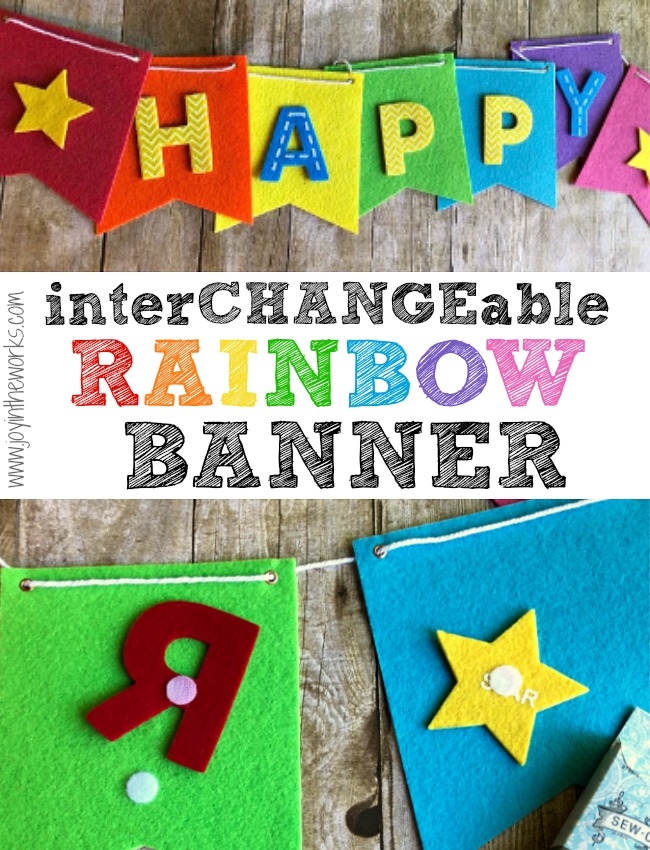
Supplies Needed:
Felt Banner (pre-packaged or make your own!)
Felt Alphabet Letters and Numbers (pre-packaged or make your own!)
Velcro Dots
Hot Glue Gun (optional)
Ruler and Pencil (optional)
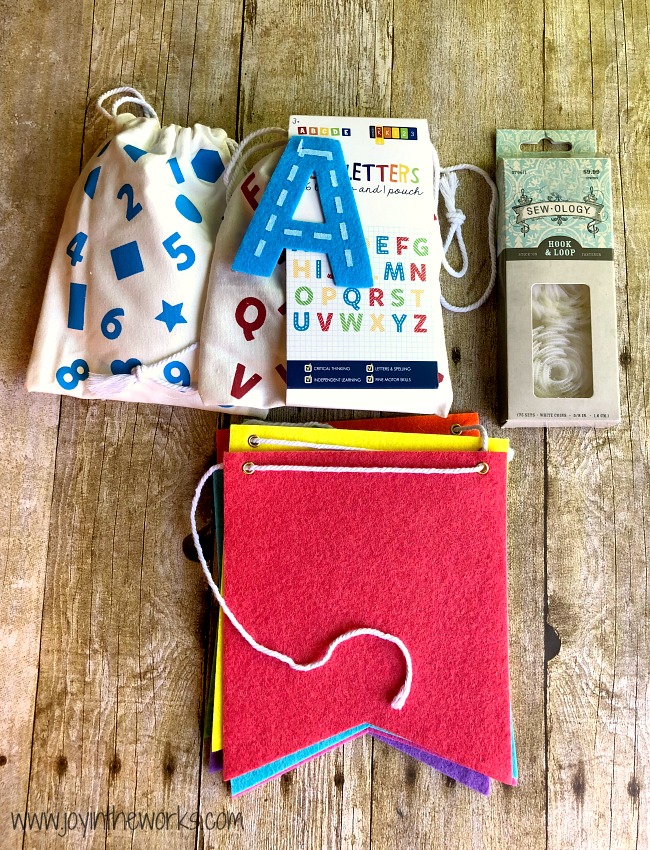
So even though I gave you a sneak peek on how to make this Interchangeable Rainbow Felt Banner in the video above, I did want to share a few tips that you might not see in the video.
First of all, I actually came up with this project last year when I found a cute packaged felt banner in the Target Dollar Spot! Then when I saw the felt alphabet letters and numbers, I knew I had to put everything together to make a Rainbow Felt Banner! The beauty of this DIY Felt Banner though, is that the letters and numbers are attached with velcro so that you can easily change the message and recipient!
Don’t worry if you don’t have a Target near you or you can’t find a felt banner there, you can always order this similar one on Amazon or just make your own with felt from the craft store! The same goes for the felt alphabet letters and numbers! Simply buy them on Amazon or make your own!
After you have your banners (I bought enough so that I had 28 banner sections, but it’s up to you for how you are going to use them), letters and numbers, grab your velcro dots and have your hot glue gun at the ready! The hot glue gun is only if your self-adhesive velcro dots don’t stick as well as you would like.
Next, if you want to make yours a Rainbow Felt Banner, make sure your banner is in the order you would like! I simply rearranged mine so the colors were in the order I wanted. Rainbow, of course!
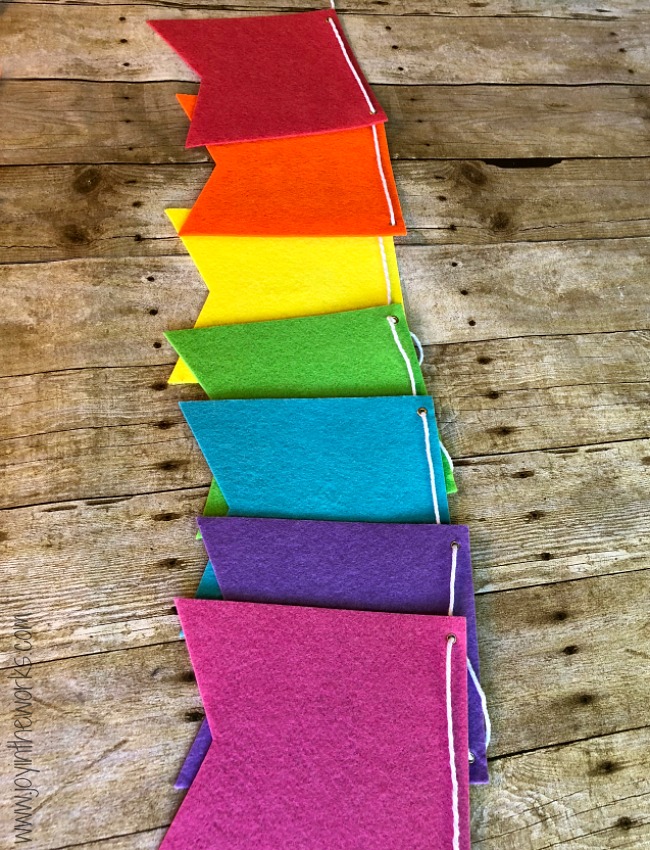
The next thing we did was measure the approximate center of each banner section with a ruler and a pencil. This is completely optional- you can also just eyeball it!
Next, you will put one part of the velcro on the banner and the other part on the letters and numbers and attach them to your felt banner. Because I was looking for easy, I started with just the letters and numbers I needed for the message of the day. It was for my son’s 5th Birthday, so I just did those letters and numbers to start. I didn’t have time to add his name right then, but definitely will for the next kid’s birthday!
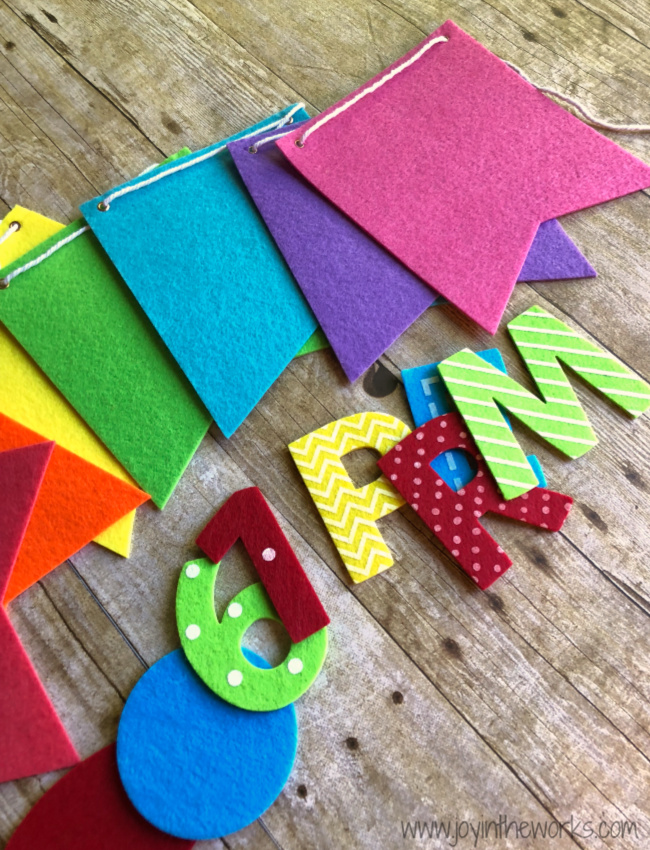
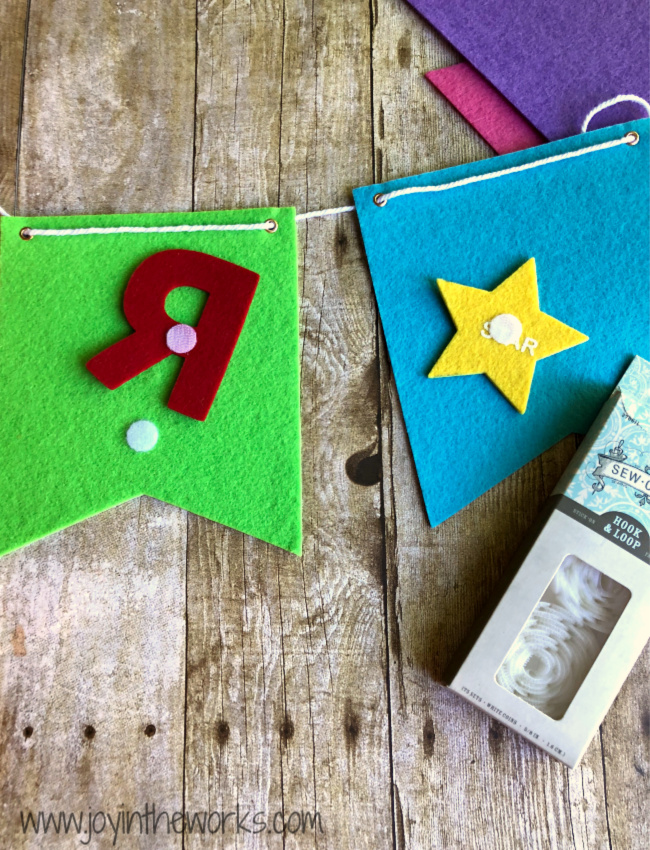
The other thing I added to my Rainbow Felt Banner was shapes. The number set I got came with shapes, so I decided to add stars and hearts to my messages. I didn’t get to it yet, but if you were really creative, you could cut out other shapes for the corresponding holiday. For Easter, cut out a carrot out of orange and green felt or for a Back-to-School Banner, you could add a pencil, bus or book!
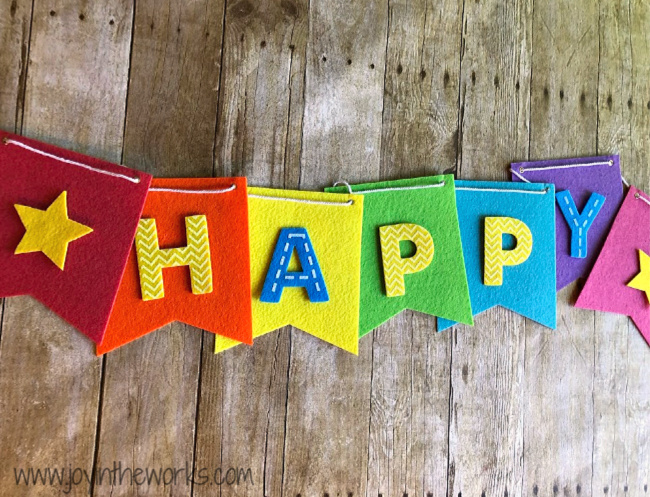
Honestly, you can come up with whatever designs or messages you want for this Interchangeable Felt Banner! It’s perfect for every holiday or occasion and can be personalized for someone’s age or name! We did a banner for my son’s birthday and we did a banner for a wedding shower, one day apart! All we had to do was change out the letters and shapes! The key is to make sure your banner has enough sections for each letter in your message and that you have enough letters and numbers to go with them!
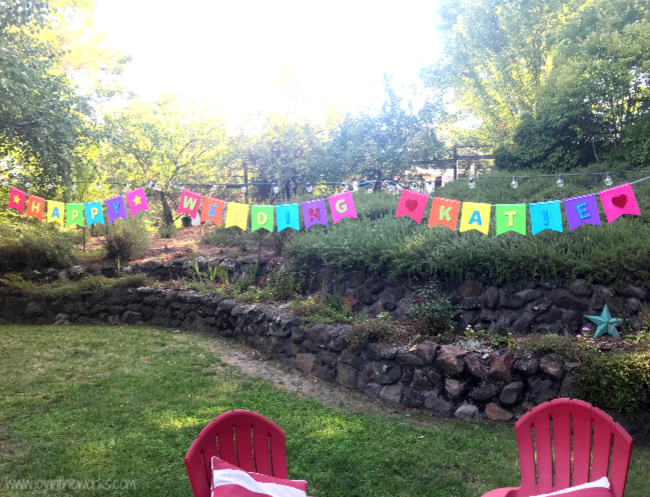
I hope you loved this DIY Rainbow Felt Banner with an interchangeable message option! It’s an easy way to help celebrate those special days and brighten up the the dull ones. We came up with lots of messages we could put on our banners- from Welcome Home to Happy 1st Day of School! What would you put on your DIY Interchangeable Rainbow Banner? Share below!

3 of 3 people found the following review helpful Good to help keep the upholstered bottom seats dry. , November 9, 2017 By jcat Verified Purchase ( What”s this? ) This review is from: Classic Accessories Fairway Golf Cart Seat Blanket/Cover (Sports) I bought this for my Evolution Golf Cart. Which is similar in style to an EZ Go. It fits the front bench seat. It doesn”t fit the back seat, because that”s a flip-down version seat with wider bar handles. The cover also keeps dust off the upholstery while it”s sitting in the garage. I use the furry side up if I want my seats to stay warm while driving. But I mostly use the vinyl side up when I”m wet from the swimming pool, because it keeps the dampness from absorbing into my upholstery. It seems to be well made. I”m docking one star in the review because the wind does blow the cover up from the front when nobody is sitting on the seat. Although you can (barely) tuck the back side under the seat, the front has no way to keep the cover down. It should have come with a Velcro type attachment. I could put one onexcept I usually use this cover vinyl side up for use after swimming. That means the furry side is down. The only way I can put any Velcro attachment on that furry side is to attach it onto the small label, which isn”t secure enough.