Spring may have sprung around the country, but a few weeks back, snow was the only thing on our minds in our house. This is the first year Californians have been able to actually experience a decent amount of snow in the nearby mountains. We even had a trip planned to go witness this mythical snow first hand, but in true “joy in the works” fashion, the 6 year old developed an ear infection on the tail end of a bad cold and had to miss the trip.
 Even though we still hope to get all the kids up to the snow, in order to ease some of the disappointment of missing the trip and being stuck inside with an ear infection, we created our own indoor winter fun involving all things snow and ice. Of course in Northern California you have to get pretty creative when playing with ice and snow! So we built structures with ice cubes, used cotton balls as snow balls and my personal favorite, we created a contact paper ice skating rink.
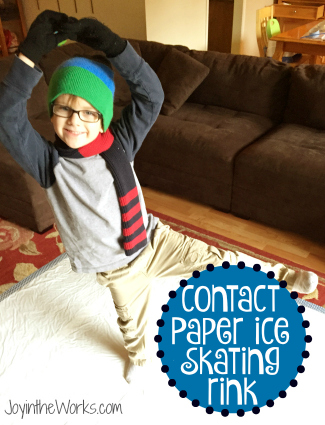
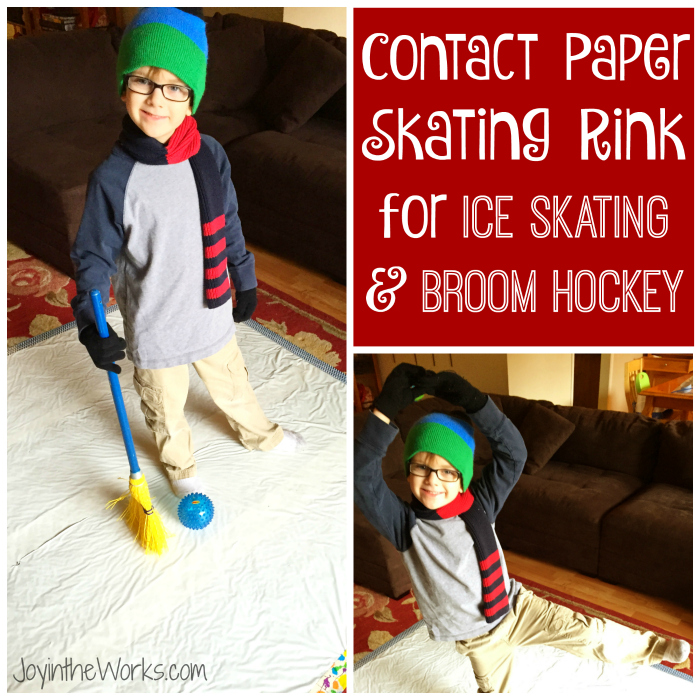
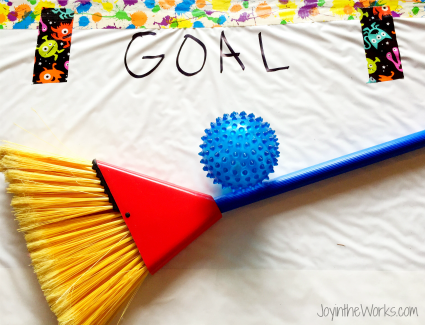
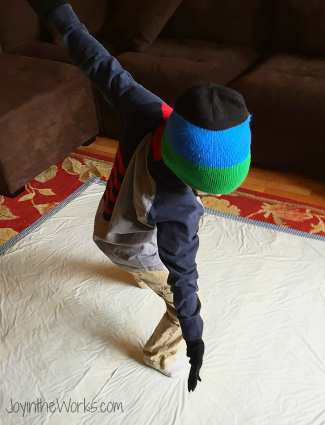
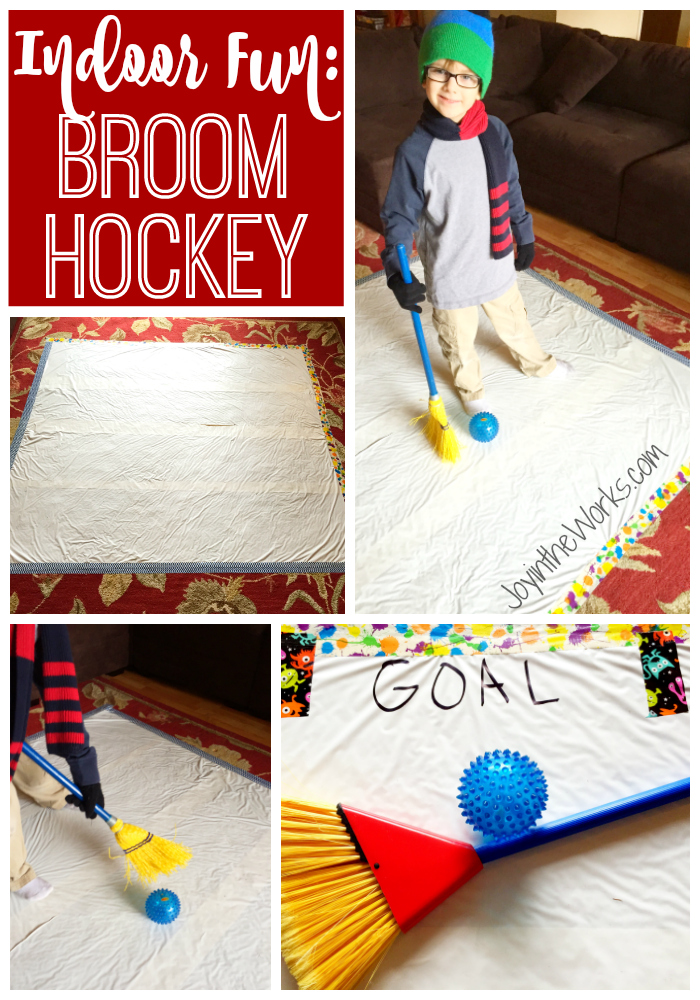
A contact paper ice skating rink is so easy to make and provides tons of different play opportunities for the kids. My boys started with socks and just skated around haphazardly. Next came the fancy figure skating attempts and then after awhile they grabbed brooms and the nearest ball. I added a goal and it became broom hockey! It was such a fun activity and helped with all that pent up energy from being stuck inside. I would definitely do it again- even on a warm sunny day!
Contact Paper Ice Skating Rink
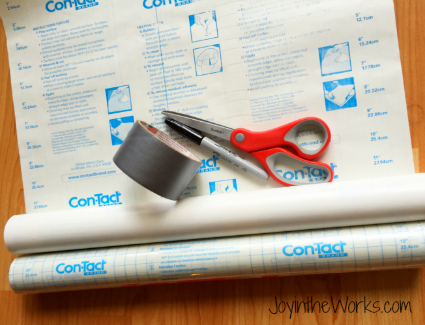
Supplies Needed:
White Contact Paper
Duct Tape (I just grabbed any duct tape we had around the house!)
Scissors
Optional:
Measuring Tape (if you want to be specific, I just eyeballed the space)
Sharpie Pen (if you want to label the goals)
 Steps:
1. Find a large space to create your ice skating rink. I chose to put it on a soft surface so no one would fall too hard. If you want to be exact about everything, feel free to measure the space.
2. Unroll your contact paper and cut out long strips.
3. Peel the back off the contact paper and lay carefully on the carpet or rug (you could do it on a hard floor but I worried about falls)
4. After you lay down enough contact paper to cover the designated area, smooth down all edges and bubbles.
5. Take duct tape and tape down all the edges around your rink.
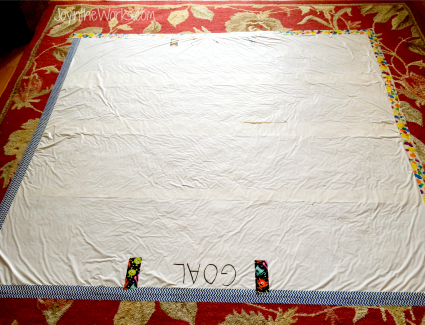
6. If you want to make it a hockey rink, you can take extra tape and a sharpie and label goals on either side.
7. Have the kids get on some thick, clean socks and let them skate away!

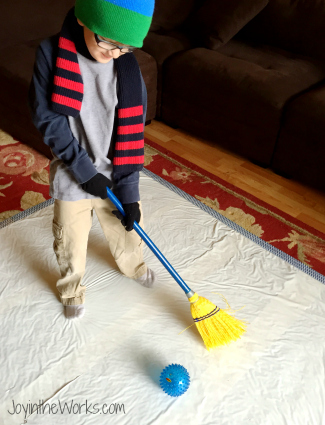
 8. Once they get tired of regular skating, pull out the brooms and a ball and you have broom hockey!
 **If you are feeling extra “wild”, I have heard you can spray furniture polish or any other kind of spray to make your rink extra slippery. I wasn’t too keen on the idea of spraying chemicals all over the surface that I knew my kids would be rolling all over in a matter of minutes, plus I didn’t know how slippery it would actually get. But if you are feeling brave and can find a safe way to do it, go for it and come back and tell me how it goes! =)

I think that was a great idea!! We really felt bad about the illness and your not being able to come up to the snow and see everyone. Hope all are well now!
A question — how large is the rink? You used a single roll of contact paper? Did it leave residue on the carpet? ( Okay, that was three questions…)
Those are great questions! While you can make the skating rink as big as you want, we did ours on an 8×10 foot rug. It didn’t leave a sticky residue at all, but I can’t remember how far one roll goes. I am thinking it was under one roll or I used a one whole roll, but I can’t say for sure. If you try it and have some answers to your own questions that are different than mine, come back and share! It’s a really fun activity and worth the set-up, especially after you have been stuck inside for days on end! ;)