So I have shown you the Best Children’s 4th of July T-shirts out there, but sometimes they all look the same or (if you are like me!) you don’t really realize that 4th of July is already here and you didn’t pick up a patriotic shirt for your kid! In my town we have a huge 4th of July parade where everyone is decked out, so it’s the least I can do to throw together a shirt for my kids to wear. Check out how to make a DIY Iron-On 4th of July t-shirt and the 10 different designs you can use!
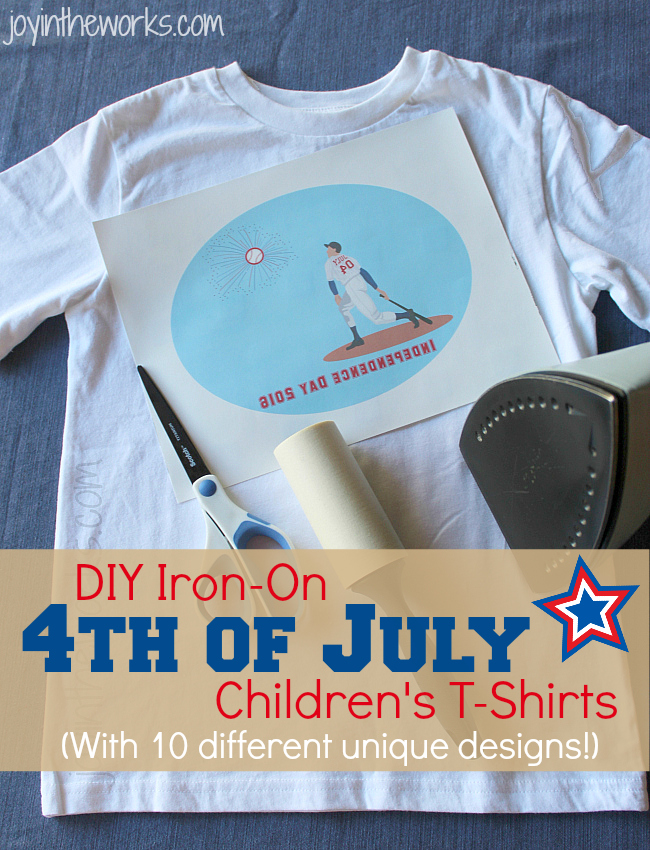 Usually the night before the 4th of July, I start to panic that the kids will want to know where their 4th of July shirts are. Thankfully I have gone through this enough to know to keep iron-on t-shirt transfer sheets on hand. I will grab an old shirt (or if I am near Target, I just pick up a new one there- it is so much easier to iron onto a new shirt) and I will put together some clip art on my computer, add a cute saying and print it out.
That’s the hardest part of doing a DIY iron-on 4th of July t-shirt- the design process. So I am making it easy on you and I am sharing with you all the designs I have come up with through the years. You can now purchase them in my brand new store! You can find all 10 designs for boys and girls (and even a few for babies!) at the bottom of this post as well.
After you purchase a design in the store, you will receive a link to dropbox to download your designs (you will receive 2 images of the same designs- one regular and one mirrored). Printing instructions will come with it, but basically you have 2 options when making our own 4th of July t-shirt with these designs. Either use the regular image and have the t-shirts printed for you professionally somewhere (like Zazzle) (affiliate) or print your own at home using the mirrored image and iron-on transfer sheets.
DIY Iron-On 4th of July T-Shirts
To make your own iron on t-shirts at home, all you need is a printer, a t-shirt and the t-shirt transfers. You can find them at any craft store or on Amazon. Click here for the iron on-transfers sheets by color (affiliate): white/light colored shirts, dark shirts, and medium colored shirts.
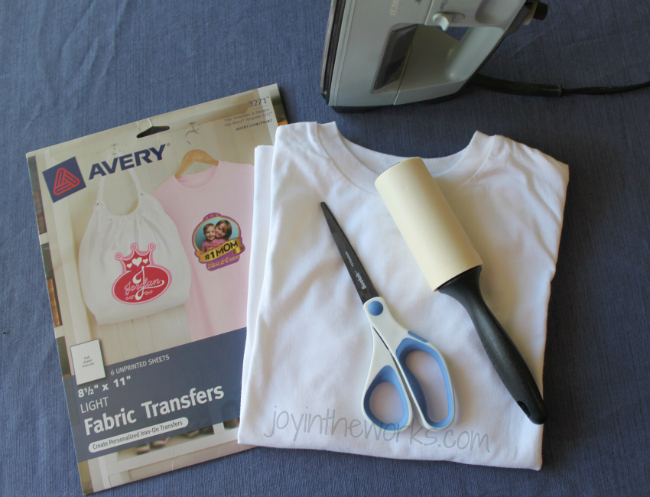
Your t-shirt transfers will have specific instructions included for the iron-on process, but here are the steps for how I did mine with the Avery Light Fabric Transfers.
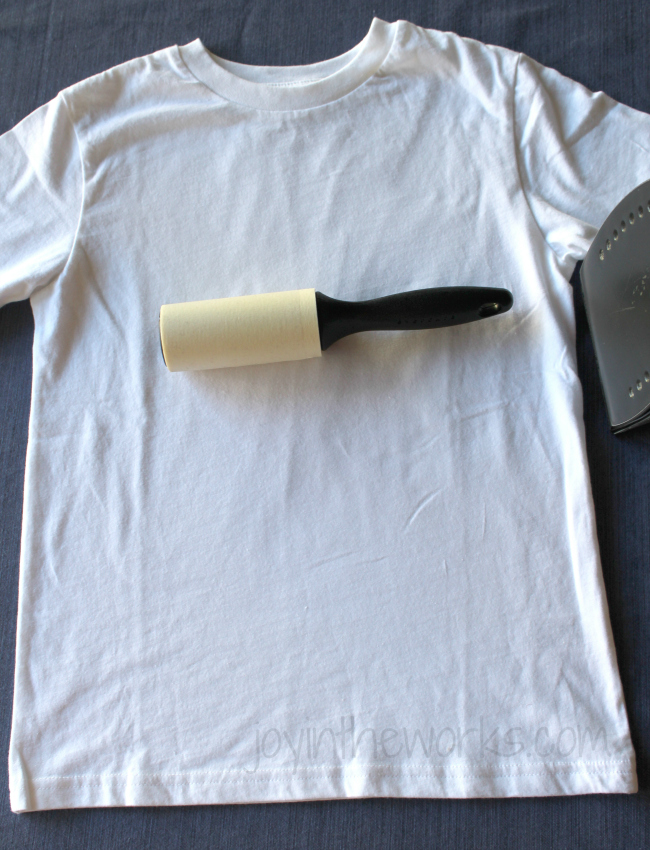
1. Gather all your supplies: a shirt (it doesn’t have to be white!), an iron, scissors, your transfer sheets and my secret weapon- a lint brush. Find a hard surface to work on. I used a card table this time, but in the past I have used a wooden cutting board on a table as well. Just don’t use an ironing board as it is too high and soft (usually) with the fabric cover.
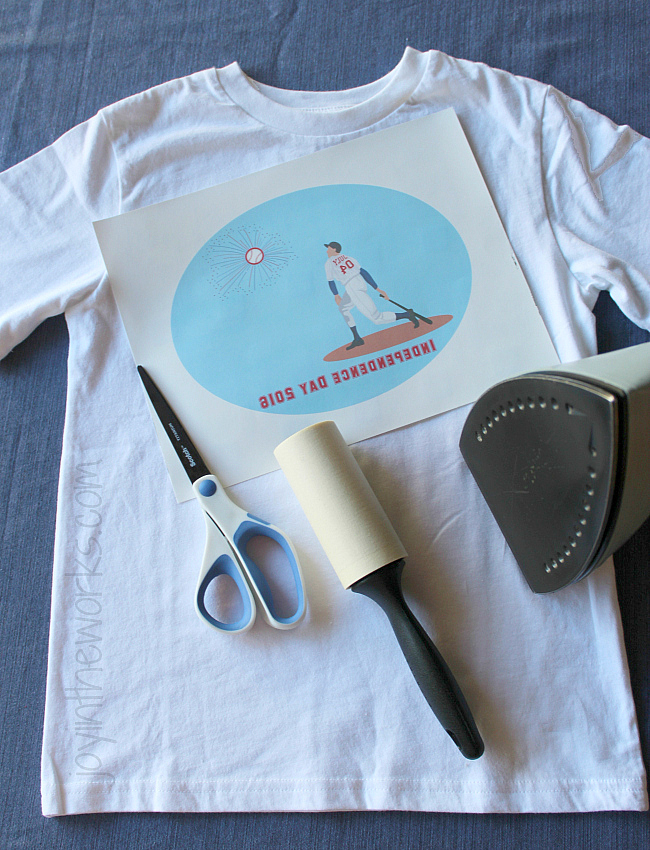
 2. Following the print instructions (either from my pdf or the instructions included with your fabric transfers), print out your design. It MUST be mirrored to work!
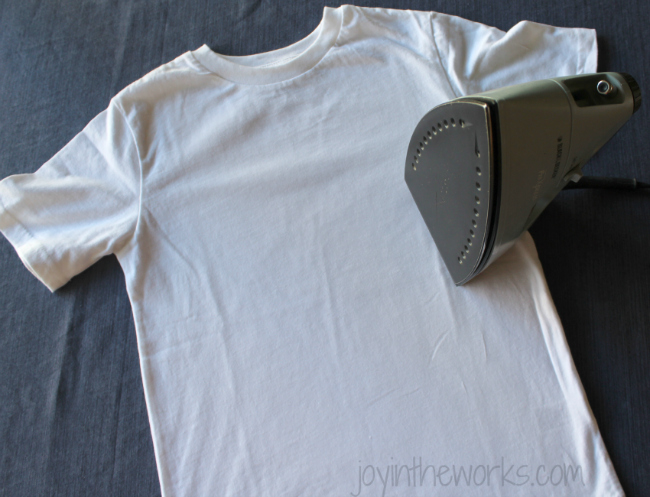
 3. Iron the t-shirt on the highest cotton setting, but do not use steam! In fact, empty all the water out of the iron.
 4. While the Avery instructions didn’t mention the lint brush, through the years I have read it on other packages and found it to be the key to a successful fabric transfer. You really can’t even see the lint until you have ironed it permanently onto your shirt!
 5. Cut out your design using good craft scissors. Leave a narrow margin and if possible, leave rounded edges as it stays better on the shirt than sharp edges that can peel up. Lay your design face down.
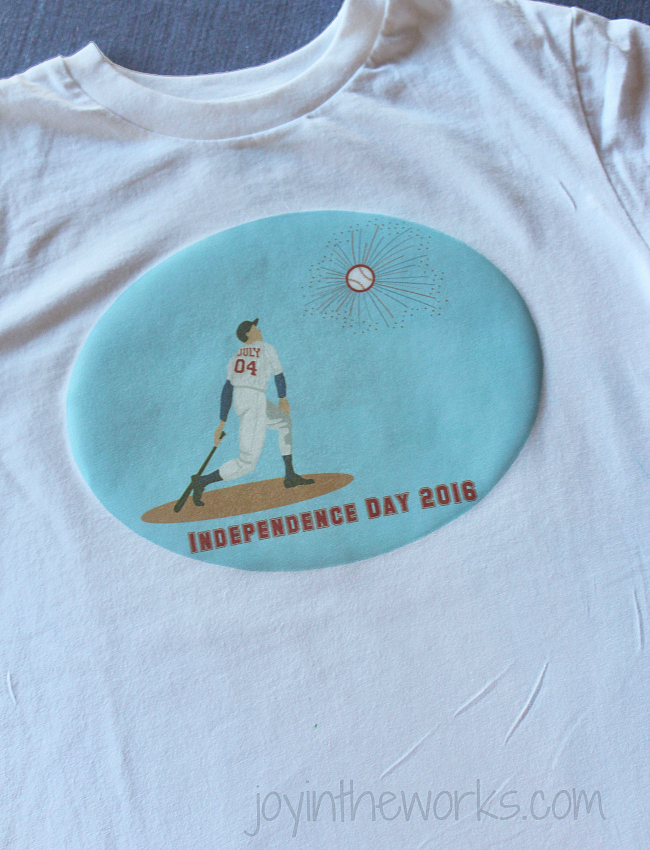
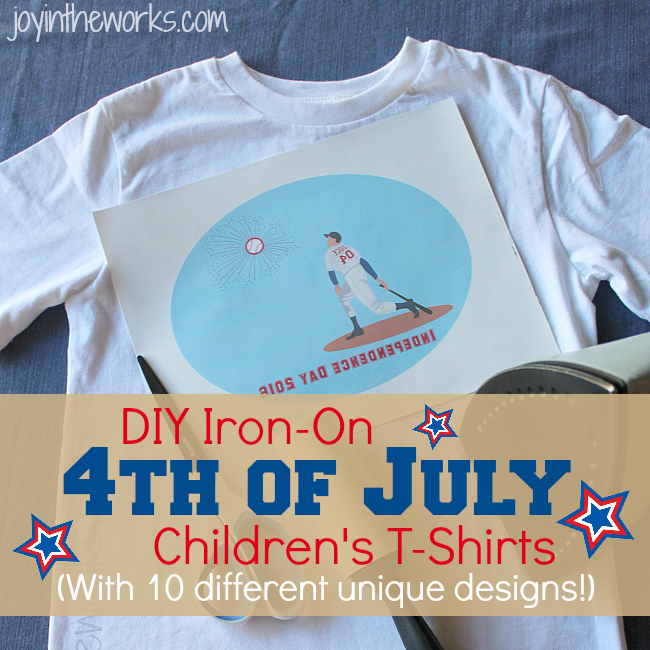
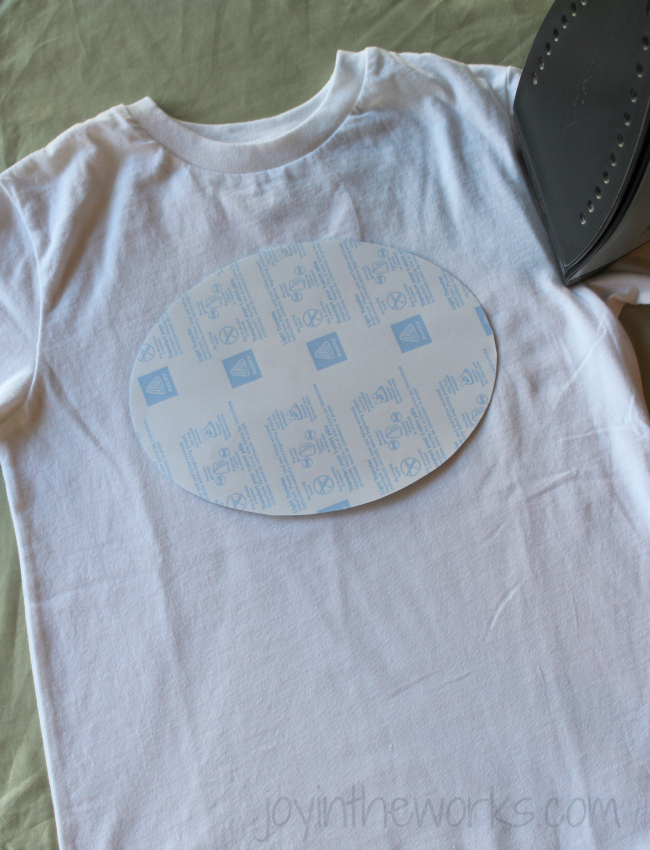 6. I couldn’t show the next steps while I did them because I would have burned the shirt if I stopped to take the picture and no one was home to help take a picture for me! But basically on the instruction sheet, it will tell you to push down with all your weight and slowly run the iron back and forth over the design in a variety of directions. Then let cool for 2 minutes before peeling off the paper backing. If it doesn’t come up well at first (yes, I have dealt with this several times when in a hurry!), you have to go back and do the process again. It often also takes a good fingernail to flick up the paper edge and begin peeling it off. Peel it off slowly and you should get a design like this:
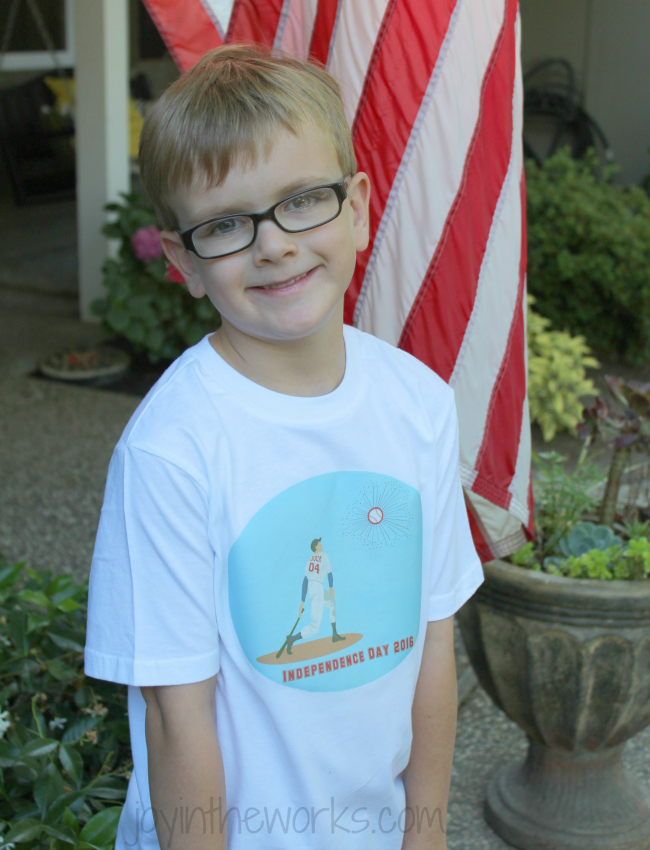
 You should also get a happy kid like this:
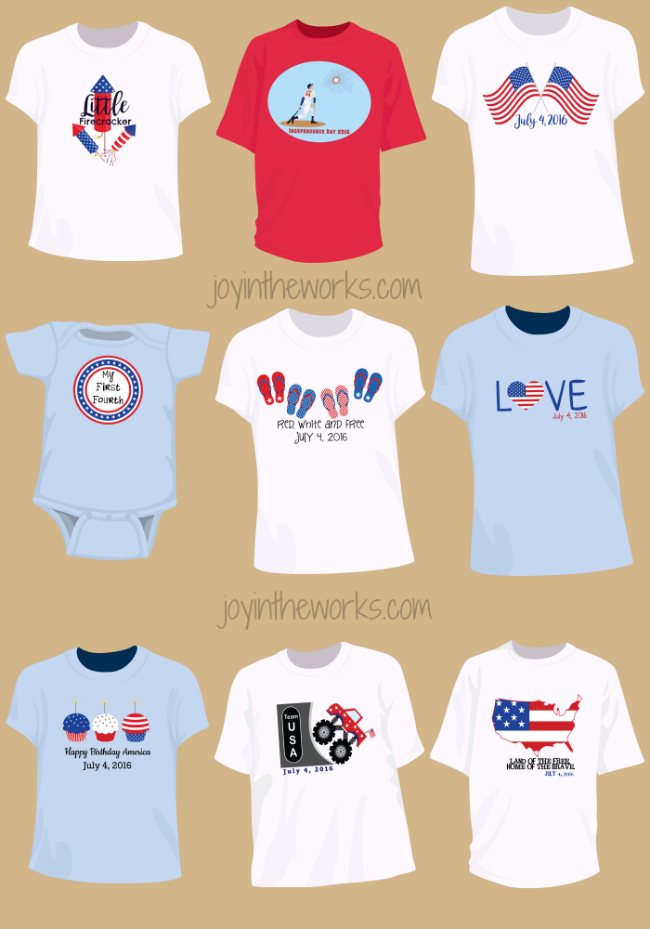
Honestly, it is that easy! I have been known to be doing this in the morning an hour before the 4th of July parade starts. Anyway, onto all the design choices. I showed you how they might look on t-shirts below, but you could do them at whatever size or color you wanted (just buy the right transfer sheets!). You will be purchasing the digital design only. You can click on the images below to go directly to the t-shirt designs in the shop or you can click here to go to the t-shirt design shop.
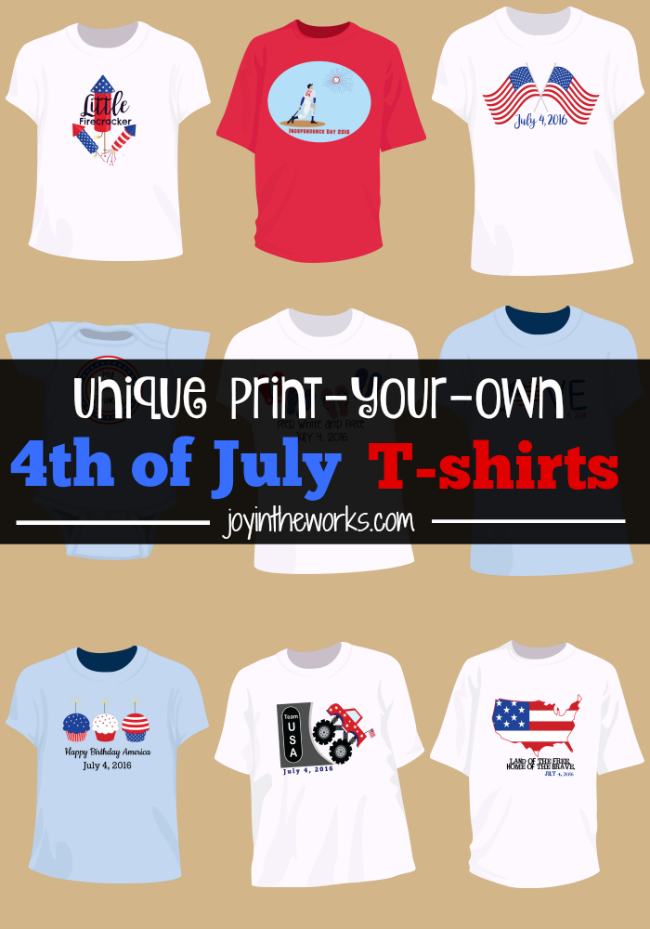
 Want to save the designs for later? Pin this image below:

I can’t wait to try this out! It would be fun to have our own 4th of July shirts. Such cute designs too!
Lovely tutorial. I love it. You are so creative. I can’t wait to try it.